A digital bookshelf is a place where you can store and show all your online publications at once. Your readers will be able to browse through your content and read your flipbooks all in one place that matches your style. You can make it look like a realistic representation of a physical bookshelf or a minimalistic page where you group your publications.
Creating a digital bookshelf is an easy task, but many options exist. This guide will show how to create a digital bookshelf with the most important things to keep in mind. Let's get started:
- Create an online bookshelf and add flipbooks
- Add a header to your digital bookshelf
- Layout and design options
- Change background, logo, and controls
- Password-protect a bookshelf
Create an online bookshelf and add flipbooks
If you don't have any publications yet, you should start creating a few. There is a quick guide about how to create your first flipbooks that might be useful.
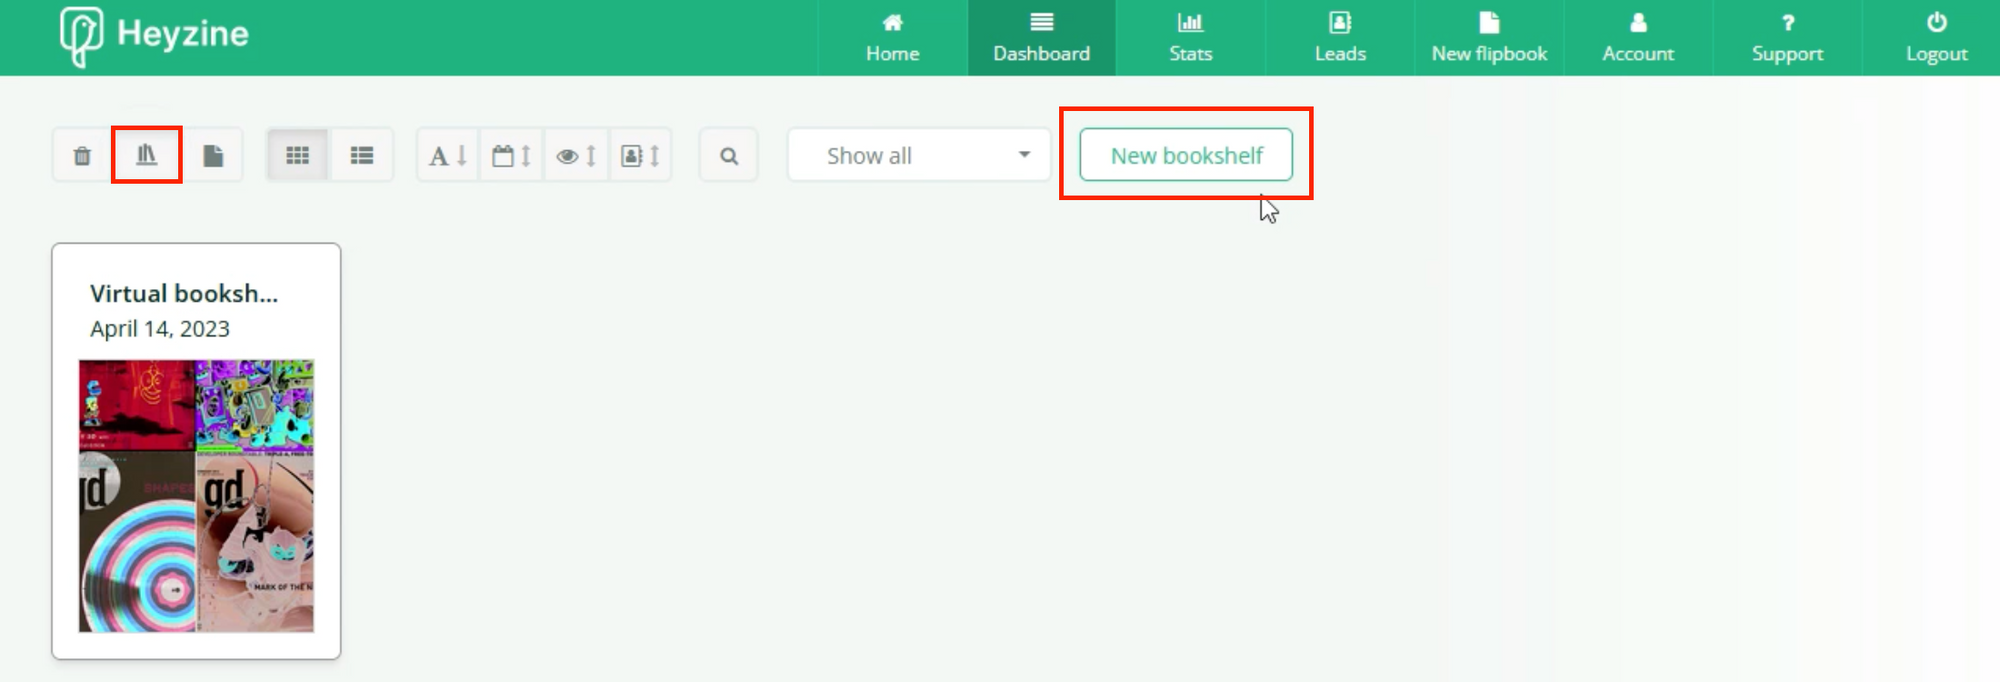
To start creating the first bookshelf, just go to the bookshelves section on the left of your dashboard and click New Bookshelf.
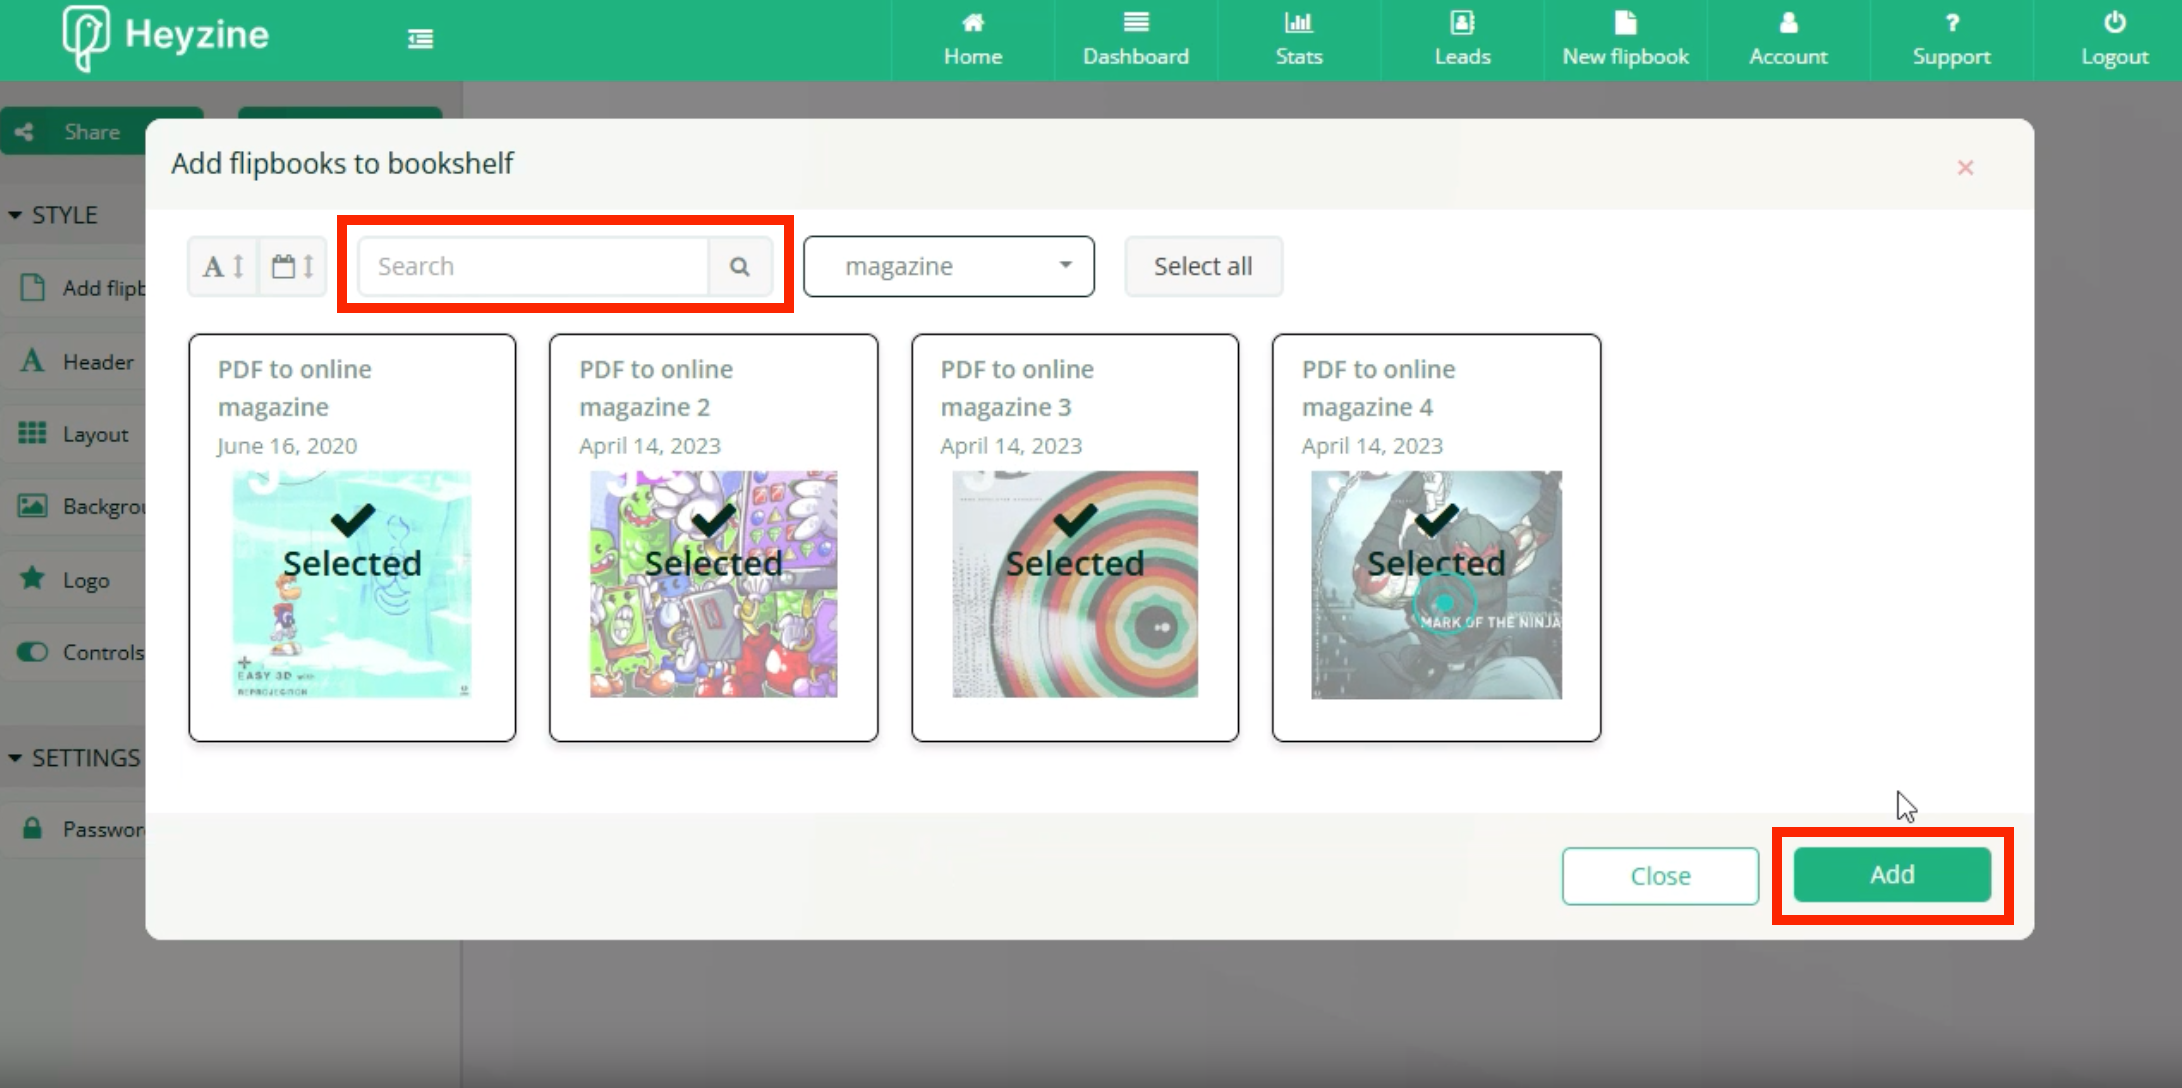
Then, choose the flipbooks you want to include. You can browse them directly by the flipbook’s name on the search bar or use the filter by tags to find them faster. Select as many as you need and click Add. Your brand new bookshelf will show up in the preview section.
If, for some reason, you would like to remove a flipbook from your bookshelf, just go back to the Add flipbook menu and deselect the flipbook by clicking on it. It will update for all your readers right after you click Save.
Easy, right? Let’s move on to more features!
Add a header to your digital bookshelf
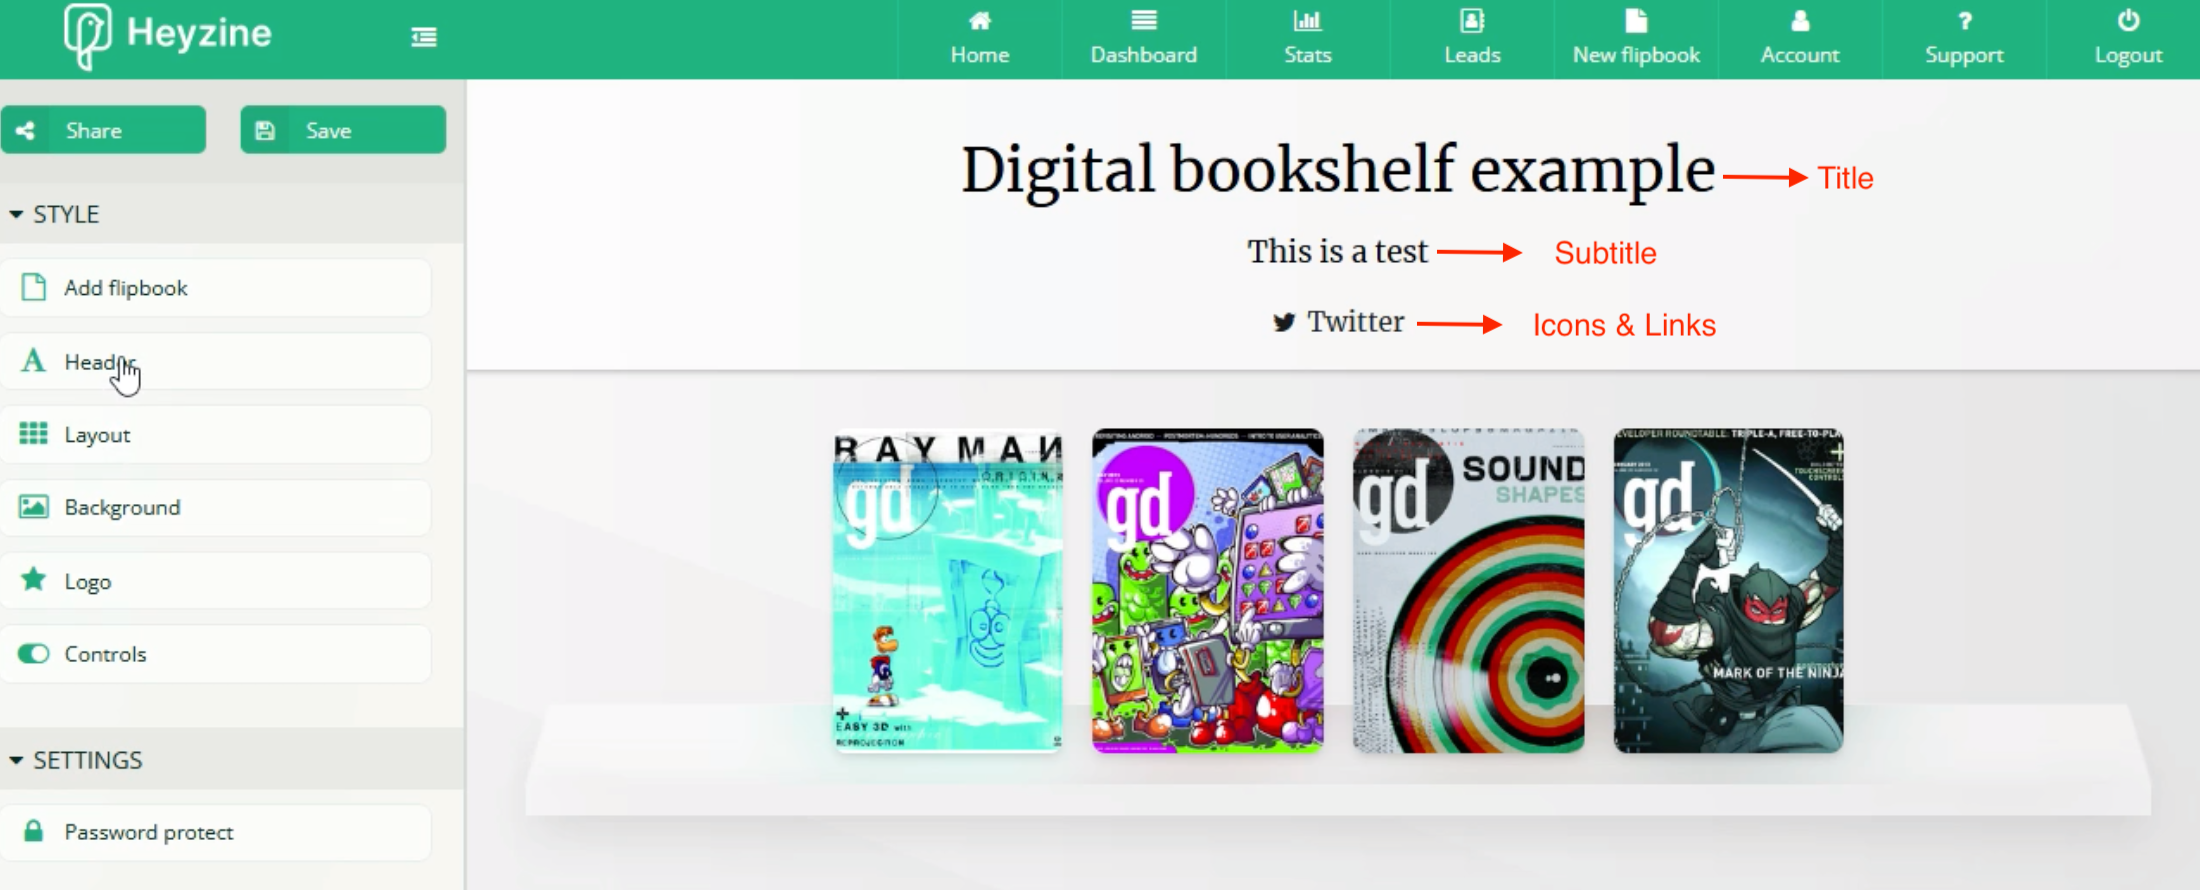
You can add a title, a subtitle, and a description to your shelf to give more relevance to your brand and explain what your library is about.
This is the first thing your readers will see and it's also the text that will show up when they share the bookshelf on social networks, so it's important to spend some time choosing the best possible copy.
To add it, click on Header and type the text in the fields, as seen here:

From the Style section, you will be able to change the font, color, and background of your texts, and in the Links tab, you can add links to your website, social networks, or any other site you wish to include.
When you have different topics or many publications, it's also a good idea to use the links section to point your readers to different bookshelves and use it as a menu.
This is what it would look like so far:
Layout and design options
Let’s talk about the Layout section. Here you can choose how your flipbooks are going to be displayed.
The Flat grid option will show all flipbooks frontally, while with the Bookshelf layout, you can get closer to that representation of a physical library we were talking about at the beginning of this guide. Here you can also decide whether or not to add a shelf below the publications.
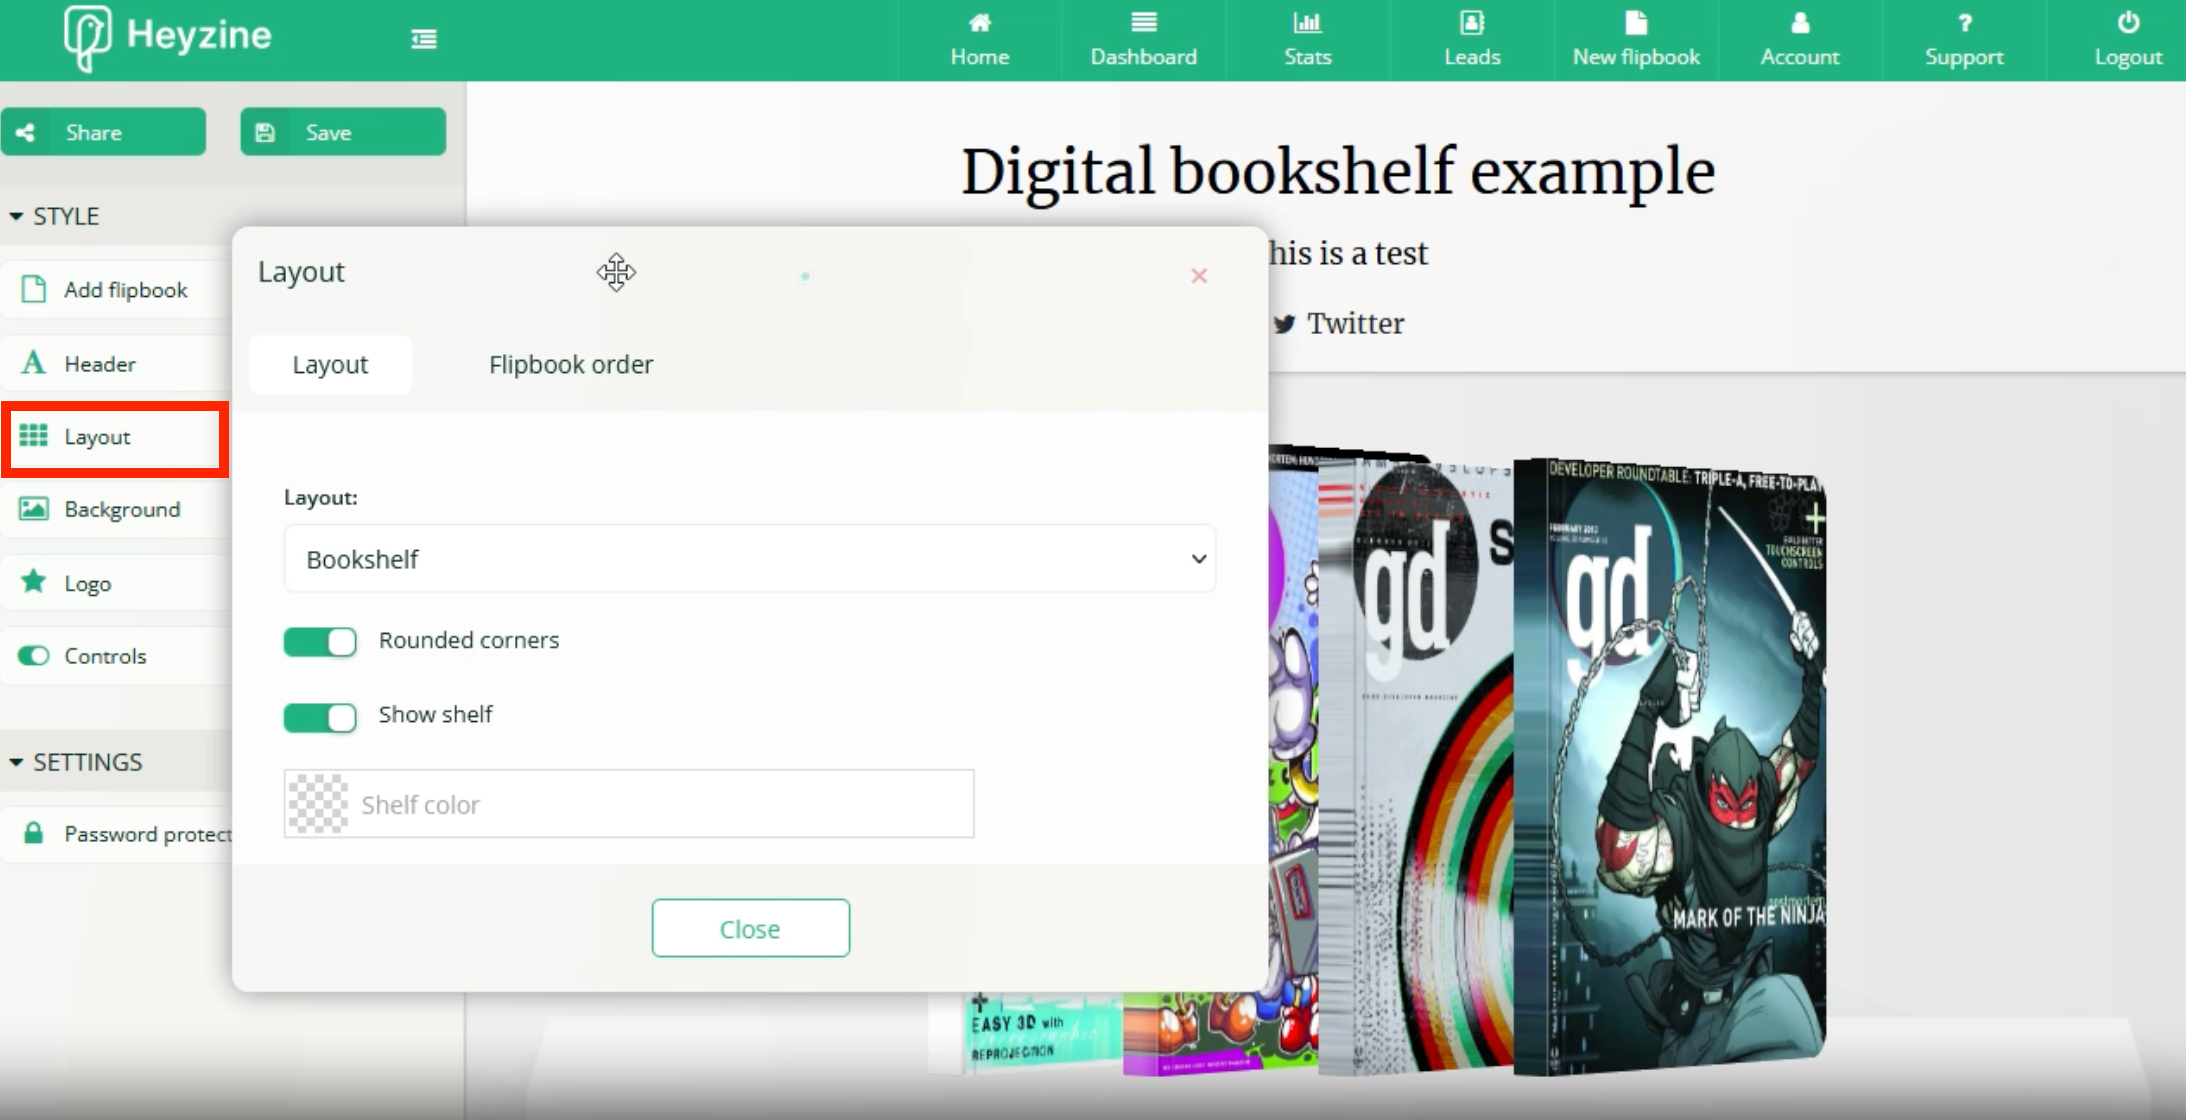
Oh! And you can always reorder your flipbooks by clicking on the flipbook and dragging it to the position you want it to be. You can do it from the Flipbook order tab.
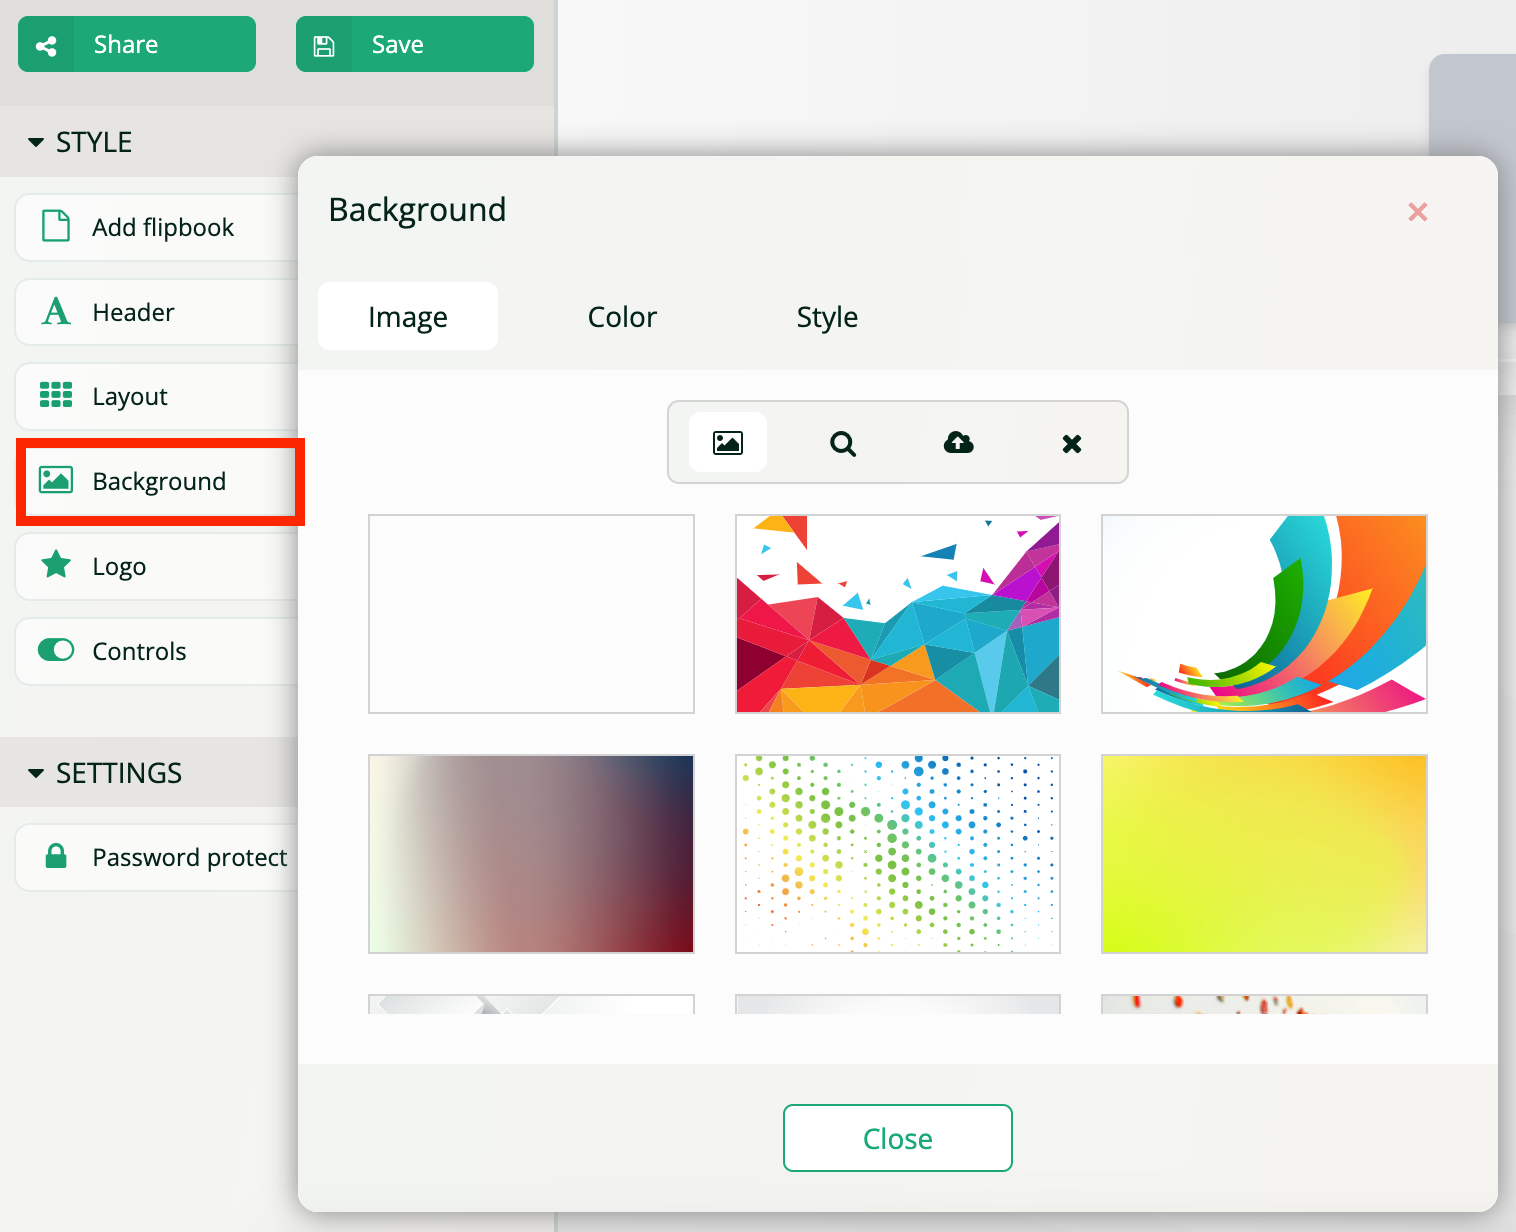
Change background, logo, and controls
If you want to fully customize the design of your bookshelf so that it fits the branding of your business or the topic your publications are covering, you can smoothly edit the background by clicking the menu option.
You can upload an image, select a predefined one or search for one that suits your theme in the Background menu.
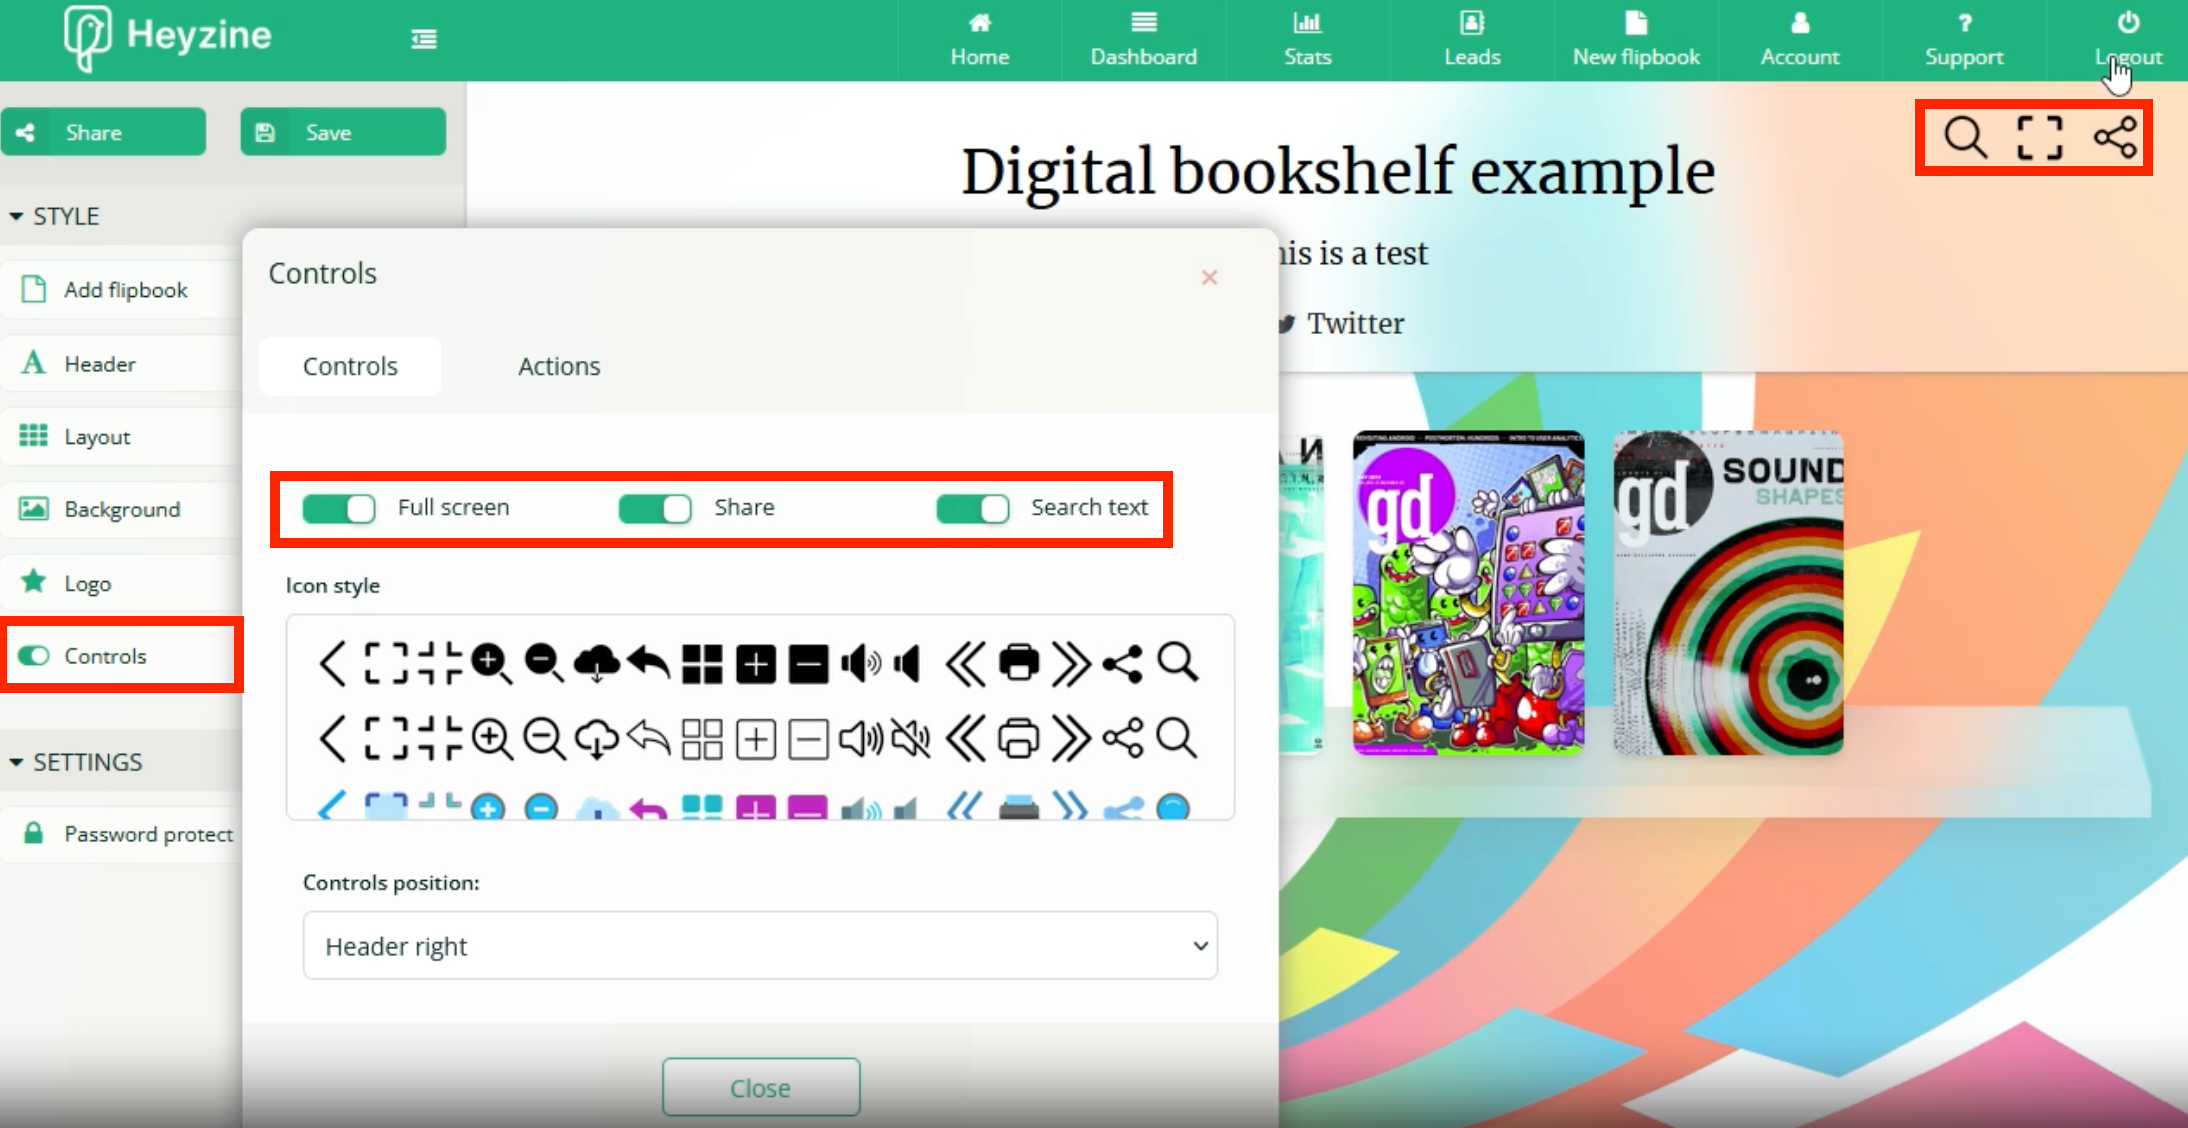
To complete the creation of your bookshelf, you can optionally select which controls you would like to enable the readers to use, such as searching for a specific word among the flipbooks or letting them share your bookshelf link.
Password-protect a bookshelf
Password-protecting your digital bookshelf allows you to control who has access to your content. It's an easy task, but it can be accomplished in different ways. You can find a detailed explanation about each option in the flipbook password-protection guide.
The process is the same. You only need to take into account that when you set a password to the digital bookshelf, you don't need to add a new one for those flipbooks that already have a password set.
If you don’t need a password for your bookshelf, the flipbooks that do have a password will still require a key to access the content.
This way, you can have both public and private content on the same bookshelf, or make all your content private with a single password.
Conclusion
Voilà! Here you now have an original, innovative, and groundbreaking way of sharing your flipbooks with whomever you want.
Would you like to give the digital bookshelves a try? Sign up for Heyzine to get access to this and other great features.