When we start to have a large number of flipbooks on the account, we soon find the need to organize them to have more control over what is online at any given moment and to find them fast. In this guide, we will see how to easily categorize flipbooks with tags.
First, we have to assign tags to the flipbooks from the dashboard, flipbook settings. It's possible to select an existing tag or create a new one by typing the name and pressing enter.
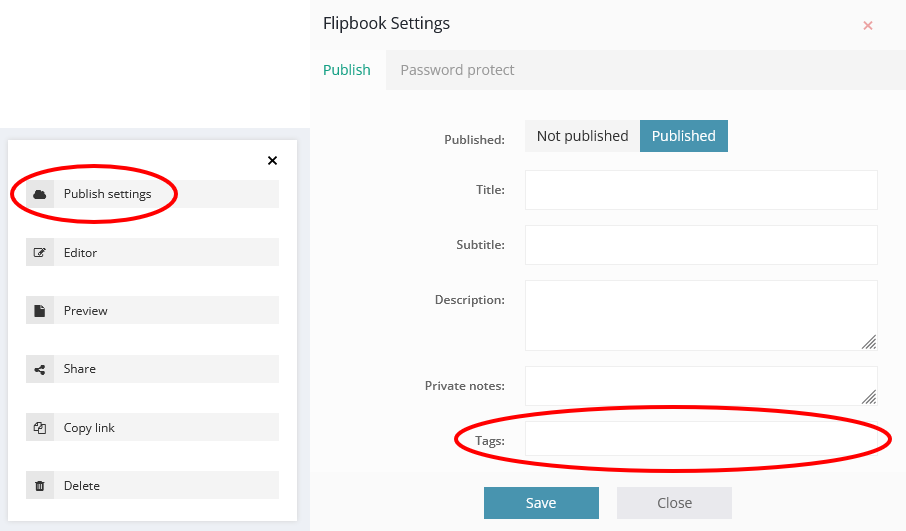
It's also possible to assign as many tags as we want if a flipbook belongs to different categories.
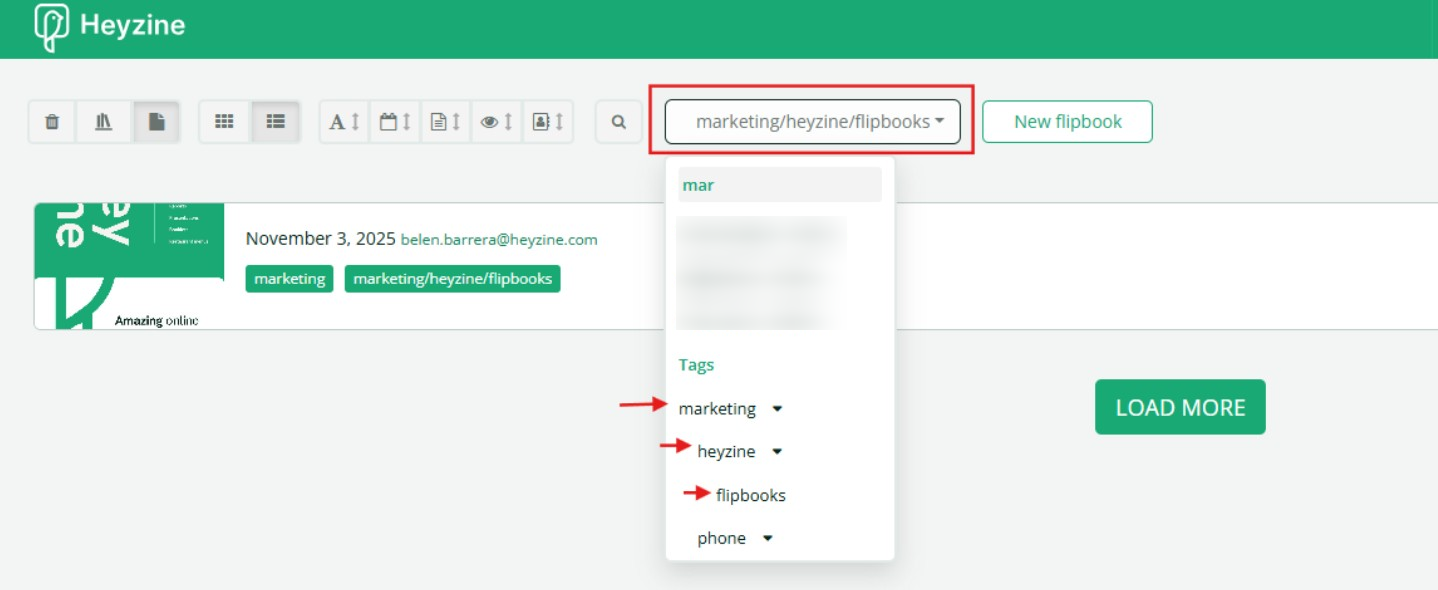
Now on the dashboard, it is as simple as filtering by one of the existing tags.

With the list view, we can see the different tags assigned to each flipbook and sort them with the controls in the upper-left corner. Using the search box on, we can find flipbooks by title, subtitle, description, or private note.

To edit the tag, we can use the three dots next to the tag label in the filter menu. It's possible to remove it from all the flipbooks or nest it as a subcategory of another tag.

By using sub-tags, you can establish a clear structure, making it easier to filter and locate your content. This way, you can create multiple levels of tags to have a better organization and differentiate your flipbooks.
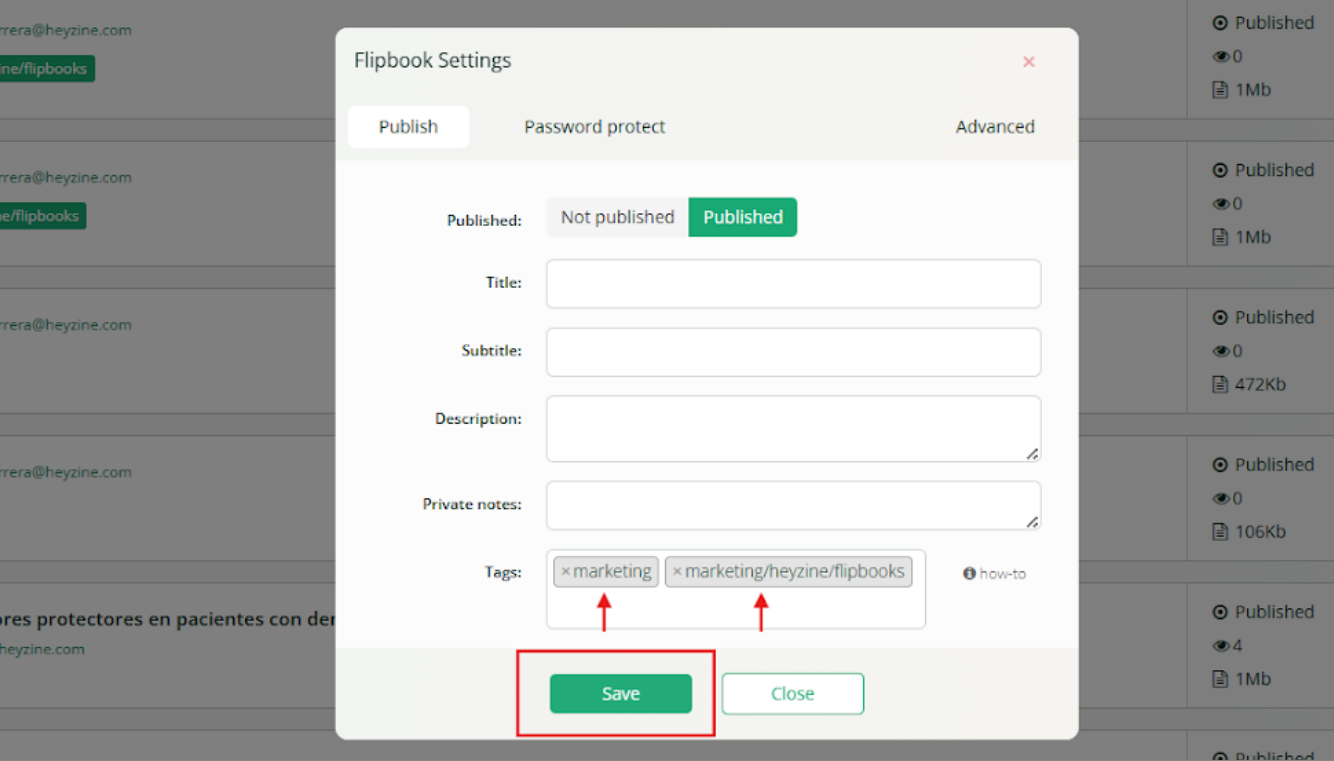
To do so, open your dashboard and select the flipbook you want to tag. Then go to Publish Settings, go to the “Tags” section, and enter your sub-tags after the main tag, separating each level with a slash.
For example: Main/tag1/tag2/ or marketing/heyzine/flipbooks.
You can also add new tags simply by adding a slash bar and the name of it, search for the tag in the search box, and entering the settings. Finally, nest it under the tag you choose.

After that, you’ll be able to find the books by filtering by tag in the search box.